|
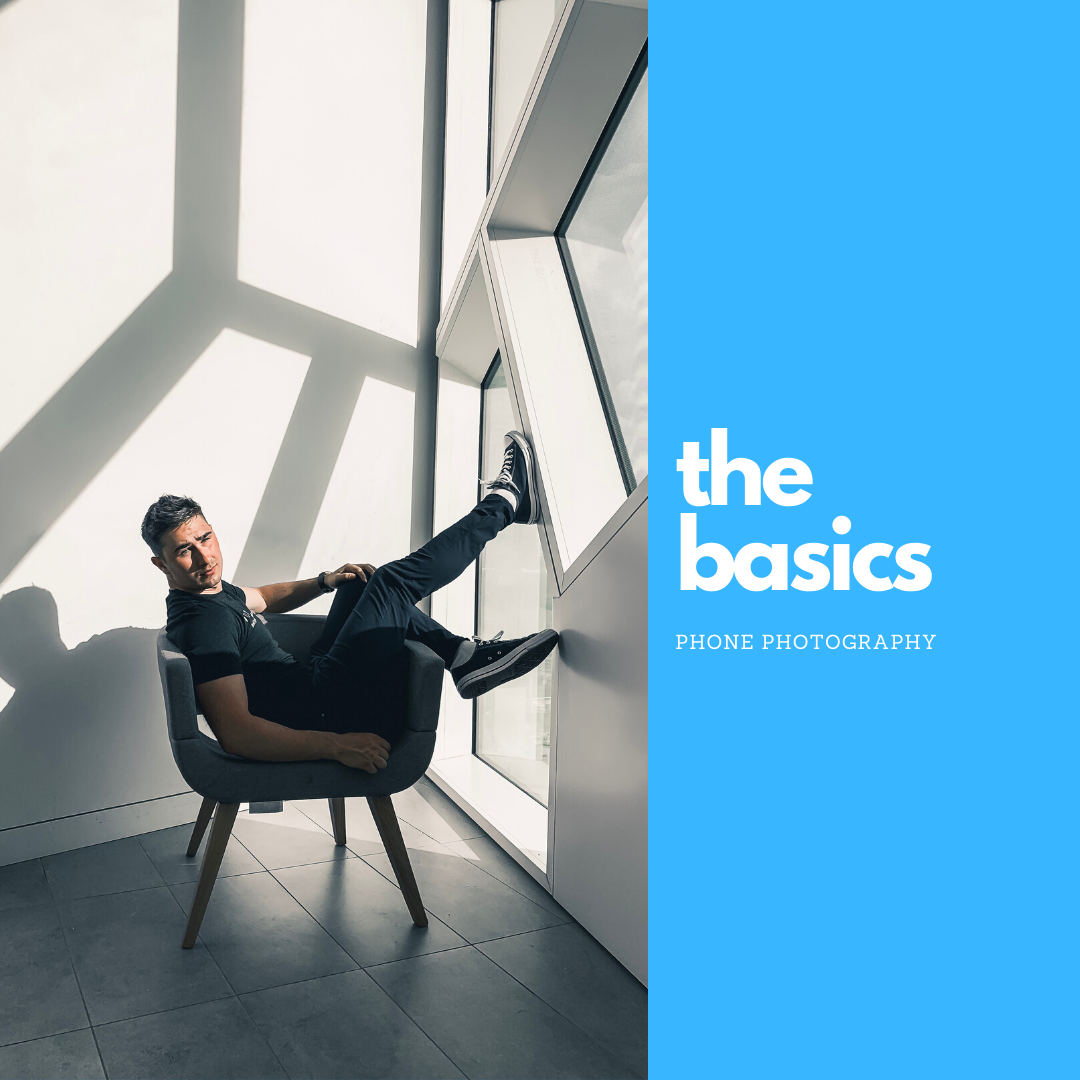
Light Photos are essentially light entering a lens, so you need to find your light. That means if there is a window in the room, you want your subject to be facing the window, so the light is falling on their face. If you have them stand in front of the window, they will be backlit. This will cause them to appear very shadowed. Natural lighting is the best, but artificial may be your only option in some circumstances. Dark If you are in a situation where the light is very low, make sure to keep your camera steady. With less light, your camera needs more time to collect visual information, so if you move your hand it will create a blur in your photo. A pro tip is to get a friend to use the flashlight on their phone to help light the subject, making sure not to overhead light the face and create unwanted dark shadows under the eyes. Composition When you are composing your shot there are some basic rules to adhere to: symmetry, the rule of thirds and using angles to create interest. Having a perfectly centred subject is excellent for social because when you crop it for different placements, you will have the most flexibility. The rule of thirds is handy to leave negative space to add graphics and ad copy. Using angles is a good trick to make a boring photo a bit more dynamic. Correction There are a few essential tools you need to master to correct a poor photo. Brightness will up the entire value of the photo's light and dark areas, which is excellent for general editing. The better options for correcting lighting are to use your highlight and shadow adjustments. These tools will allow you to independently add more depth to dark areas of the photo or turn down overexposed regions. Depth Most traffic on social media is happening on mobile, so no matter how great your image looks on your desktop, you always have to consider how it reads on a phone. Smaller images usually require more depth. You can add this by increasing the contrast on your image, so it pops more. Be careful with the contrast tool because this will also exaggerate lines under eyes and chins. Colour Having eye-catching colours in your image is very important. Using the saturation tool, you can add more vibrant colours. You can use your tint control to make your image cooler or warmer, bluer or more yellow. A good rule of thumb for colour correction is to watch your skin tones, if they are starting to look weird or unnatural then you have likely gone too far. Filters Filters are a super-easy way to add a style to your images and create a uniform look. Most filters on Instagram are a bit much when used at full force. If you hold down the filter button, it will present a slider. From here, you can choose a much milder strength to your filter. This will give you what we call an undertone. Even adding 10-15% of a filter can help to create cohesion in your Instagram feed. Presets If you want to mix up something brand specific and create something truly unique, then you want to make a preset. These are used in more advanced editors like Adobe Lightroom. They offer you full control and customization of your image. You can create these on your own or purchase them online and then tweak them later to match your style perfectly. IG Stories The biggest place we still see mobile photography being relevant is Instagram Stories or any expiring social platform. This is a great place to test new looks, ideas and creative directions. Viewers have fewer expectations of the production value and prefer a more natural experience of your brand. Keep in mind this isn't a place to ignore brand guidelines, it's just a platform to be less precious with them.
0 Comments
Your comment will be posted after it is approved.
Leave a Reply. |
AuthorCreated by T Squared Social. We are a Saskatoon based social media agency with a focus on education, content creation and management. We love making great content and helping people with their social media. Categories
All
Archives
May 2024
|
T Squared Social |
Copyright © 2024 T Squared Social


